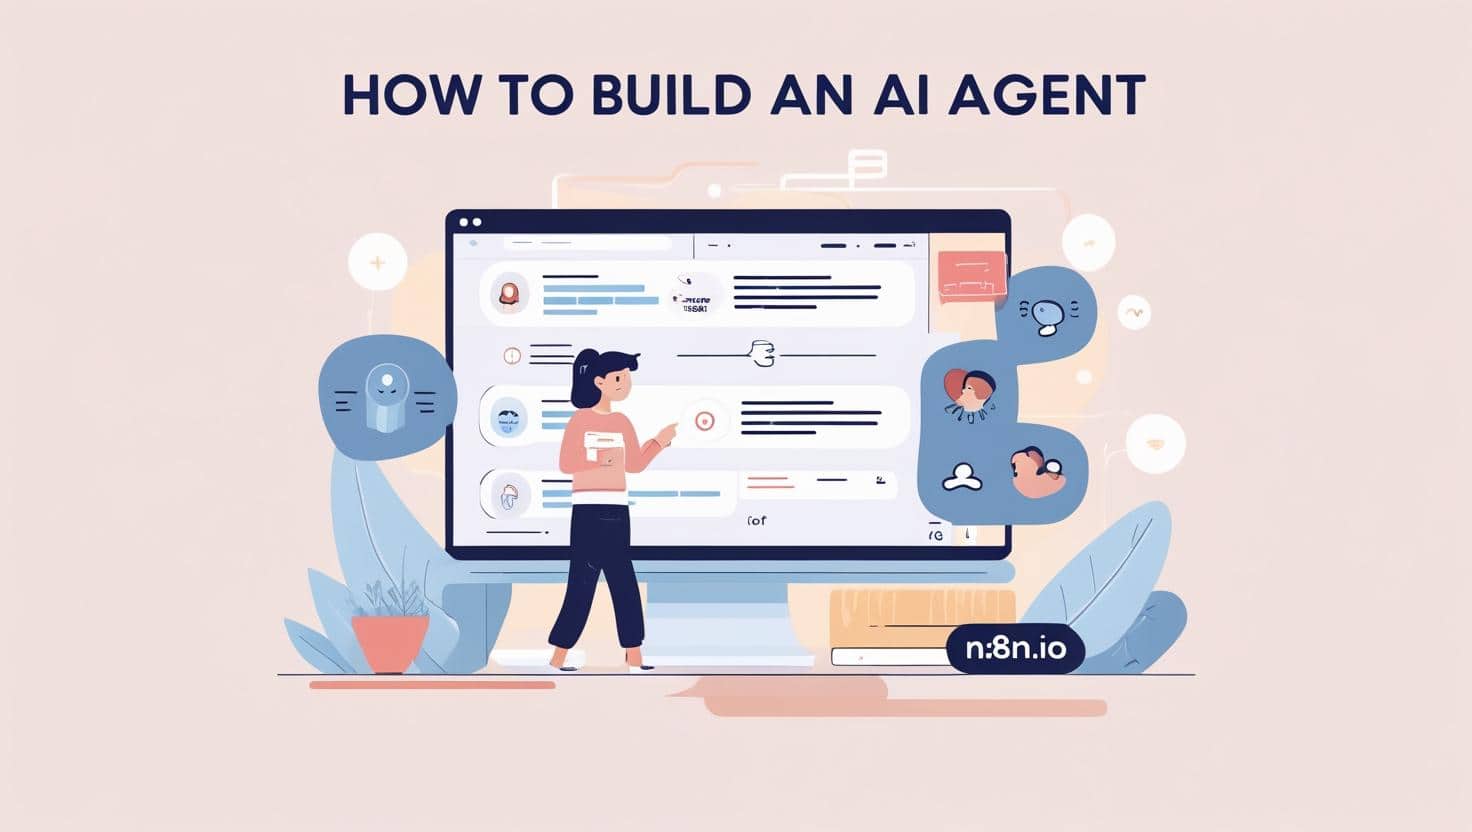
Learn how to build your own AI-powered agent using n8n.io, a powerful workflow automation tool. This guide walks you through each step to automate tasks with AI, no coding required.
If you’ve been looking to build your own AI agent that automates workflows and performs intelligent tasks, n8n.io is a powerful tool you can use — and you don’t need to be a programmer to start.
In this blog post, we’ll walk you through how to create an AI agent using n8n.io, integrating tools like OpenAI, Telegram, or even Google Sheets, to automate and enhance your workflows.
🔧 What Is n8n.io?
n8n (short for “nodemation”) is a source-available workflow automation platform that lets you connect various services and build custom automations. You can use it to:
- Connect APIs
- Process data
- Trigger events
- Integrate AI services like OpenAI or Hugging Face
💡 What Is an AI Agent?
An AI agent is a software entity that performs tasks autonomously using machine learning or AI-based decisions. Think of it like a smart assistant that can:
- Analyze messages
- Respond automatically
- Extract data
- Make decisions based on context
🚀 Tools You’ll Need
- n8n.io (self-hosted or cloud version)
- An OpenAI API key (for GPT-based tasks)
- Telegram, Slack, Gmail, etc. (for communication triggers)
- Optional: Google Sheets, Notion, or Airtable for data storage
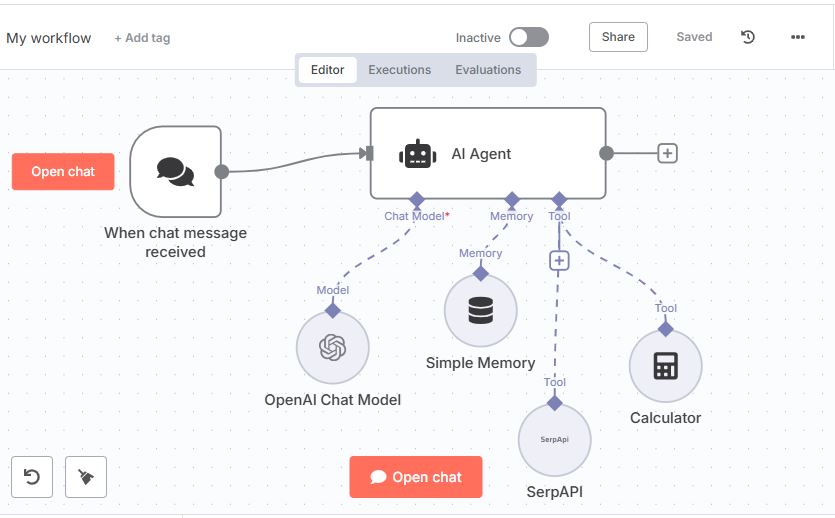
🛠️ Step-by-Step Guide: Build Your AI Agent in n8n.io
Step 1: Set Up Your n8n Instance
- Sign up at https://n8n.io or self-host via Docker/VPS.
- Launch the dashboard.
Step 2: Create a New Workflow
- Click “+ New Workflow”.
- Name it something like “AI Agent Chatbot”.
Step 3: Add a Trigger Node
Choose how your agent will be triggered. Examples:
- Telegram Trigger – When a user sends a message
- Webhook Trigger – When data is sent from a form or app
- Cron – Schedule it to run regularly
Step 4: Add the OpenAI Node
- Use the OpenAI node to send the user’s message as a prompt.
- Add your API key.
- Configure it with a prompt like: bashCopyEdit
User: {{$json["message"]}} AI:
Step 5: Process the AI Response
- You can clean/parse the AI response using a Function Node.
- Store the output in Google Sheets/Notion with the respective nodes.
Step 6: Respond Back
- Use Telegram, Slack, or Email node to send the AI’s reply back to the user.
🤖 Example Use Cases
- Customer Support Agent on Telegram
- Email Summarizer that runs daily
- Task Reminder Bot using OpenAI + Cron
- Form Auto-Responder with GPT
🔐 Bonus Tip: Secure Your Webhook
If you use Webhook triggers, always use a secret token or custom headers to prevent spam or abuse.
✅ Final Thoughts
n8n.io makes it incredibly easy to integrate AI into your automation flows without writing complex code. Whether you’re an indie developer, startup founder, or just a tech enthusiast, building an AI agent has never been more accessible.
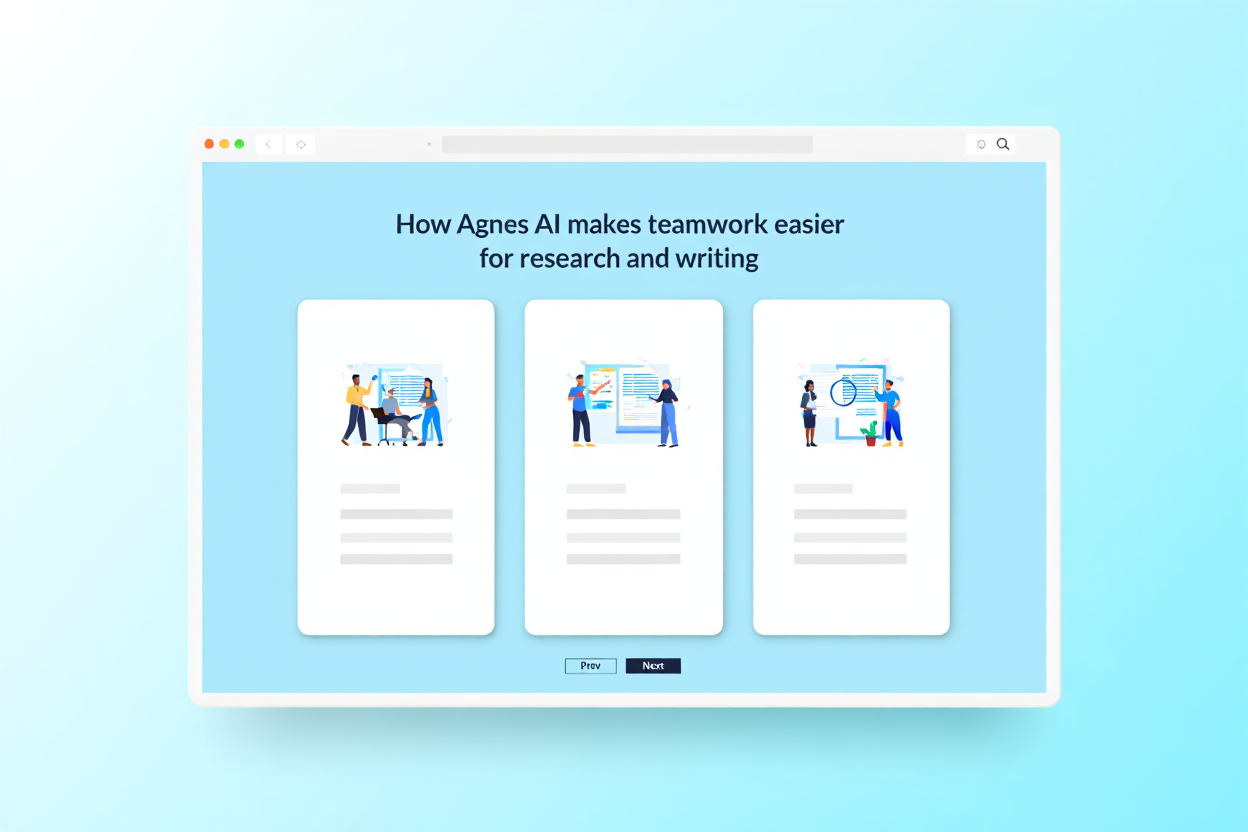
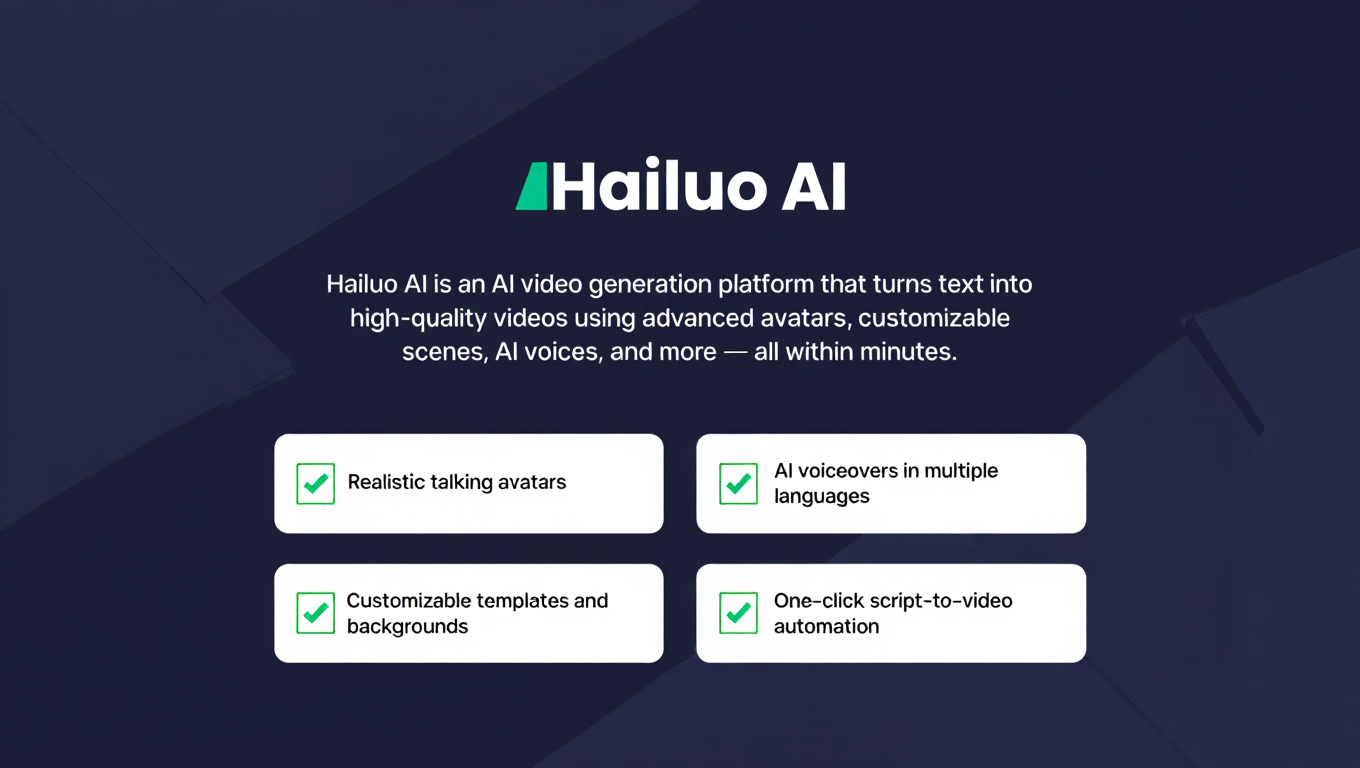
Also know more AI tools click here